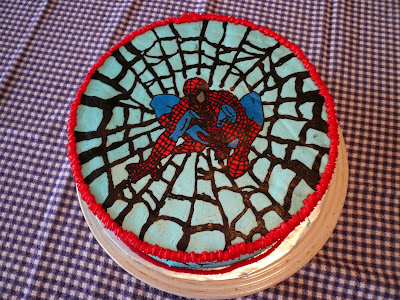
By Amber P.
Here is the technique we learned in our cake decorating enrichment night, complete with pictures.
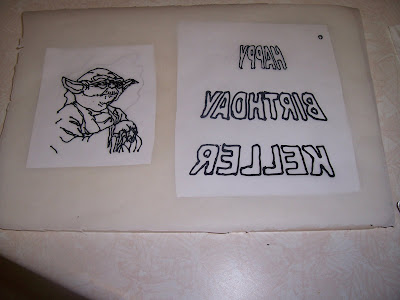
1. Find a picture that you want to use. Coloring book pages are the best. There are tons of free coloring sites online. I used this one. I also printed out text from Microsoft word. You have to either print it as a mirror image (which was an option on my old printer) or flip it over and trace the back of the page so you can read it through the wax paper. Tape the pages down to a hard surface that is transportable (I used a cutting board, but I’ve also used cake boards). Then cover with wax paper and tape that down (double stick tape is good).
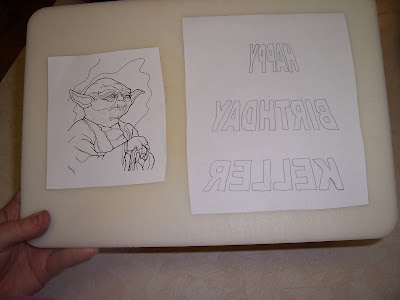
2. Using a stiff frosting (I usually use Wilton Black) and outline your words and pictures.
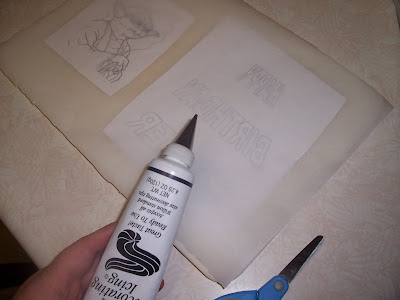
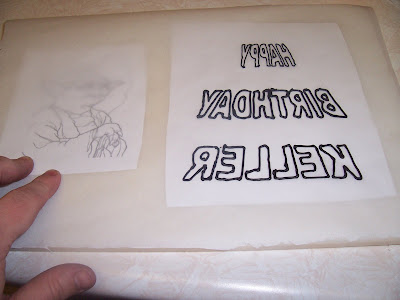
This is the most tedious part- but keep it neat.
3. Start to fill in colors in layers using a round tip. Make sure to use medium consistency frosting.
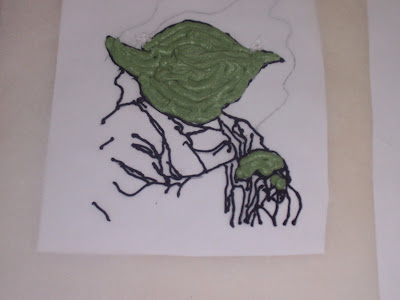
4. Using a knife dipped in hot water (and re-dipping as needed) gently smooth frosting from the back to push down into crevices.
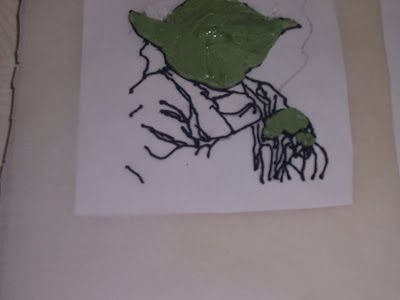
I started with Yoda’s skin, then added his robe
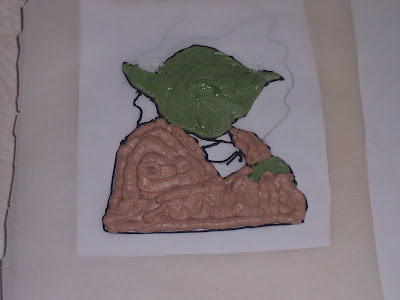
Make sure to smooth as you go.
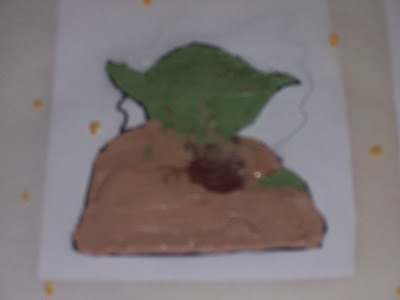
Then I finished with his shirt.
5. Fill in around pictures and words with your background color- mine is black (obviously).
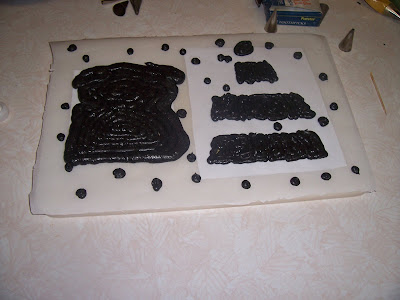
6. fill in the rest of the top. I measured mine to the same size as the top of the cake, but you can also do FBCT in a small shape and place it on top of an already decorated cake.
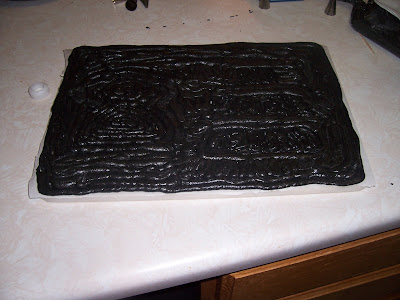
Don’t forget to smooth
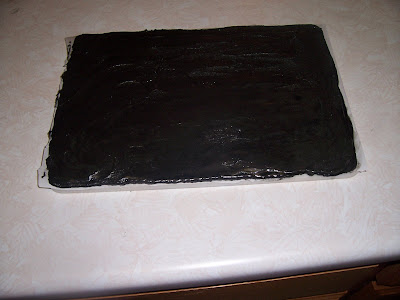
7. cover with wax paper and smooth with your hands.
8. place in freezer for 30 minutes or more.
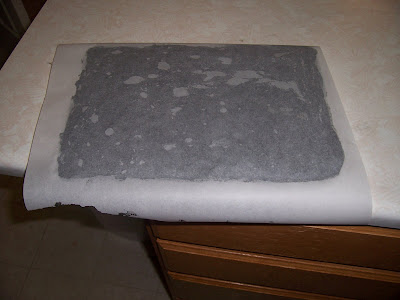
9. remove wax paper from the top of FBCT and place on top of cake that has been crumb coated and frosted on the sides.
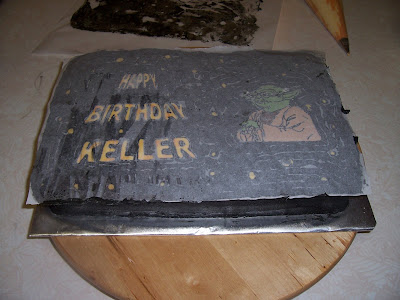
10. peel wax paper from the top of FBCT
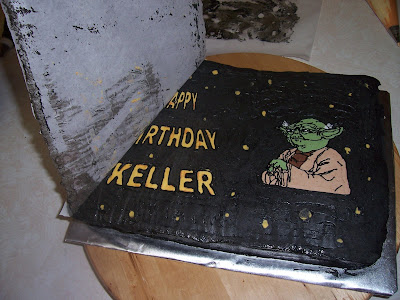
11. Add boarders
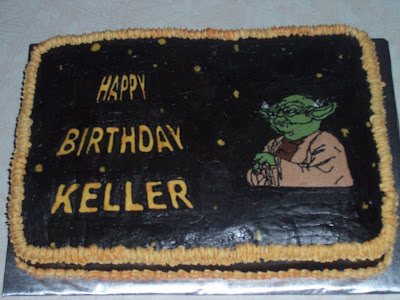
voila!
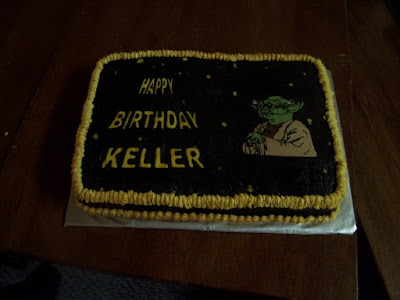
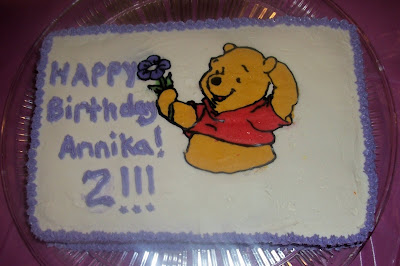
Here are a couple other examples:
This was my first one

This one only the Clifford is a FBCT
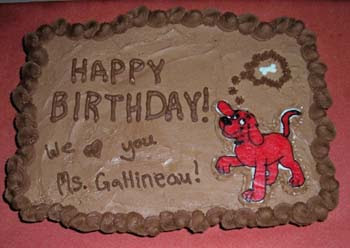
My favorite: